Getting your home the right insulation can save you thousands of dollars a year in energy bills and ensure that the effort you are putting in providing a comfortable environment isn't gone to waste.
Sometimes, the problem is not exactly doing the effort of creating a nice indoor climate, but how to ensure that this climate is adequately kept. To this end, you insulate your home. Among the many insulation options available for the homeowner, there is one that stands above the rest: Paper faced insulation.
Paper faced insulation means that one side of the insulation material comes lined with paper. This is usually Kraft paper, but sometimes other types of paper can be used. The purpose and way to apply is basically the same. Any potential changes can be secured by asking your local insulation dealer.
The first thing that you need to know is what type of insulation will work best for your home. It could just as well be a paper faced material or an unfaced material (this kind of material lacks the paper that gives it steadiness). An unfaced insulation product does not mean that this product is any less effective that its paper-faced counterpart.
So it is just the same?
You can view or understand insulation the same way you understand gasoline for your car. There are three types of octanes sold in the USA: Regular, Mid-grade and Premium. While all three power up our cars, they are by far not the same thing and you can’t and should not use them instinctively in your car.
The same applies to faced, unfaced and other kinds of insulation products. For many contractors, the decision to use one kind of insulation over the other depends solely on preference rather than a by-the-book decision-making process. If you are planning on doing your home’s insulation installation yourself, it will depend on your experience installing insulation in your home.
Faced insulation products not only use paper, they can also use aluminum foil, vinyl and even aluminum paper. It is important not to mix them nor use the wrong faced insulation product for each task.
When to use paper faced?
Mostly, paper faced insulation is the best choice for neophytes in insulation installations. It is also recommended for homes that haven’t been insulated. The ideal places for this insulation are:
- Walls
- Ceilings
- Floors
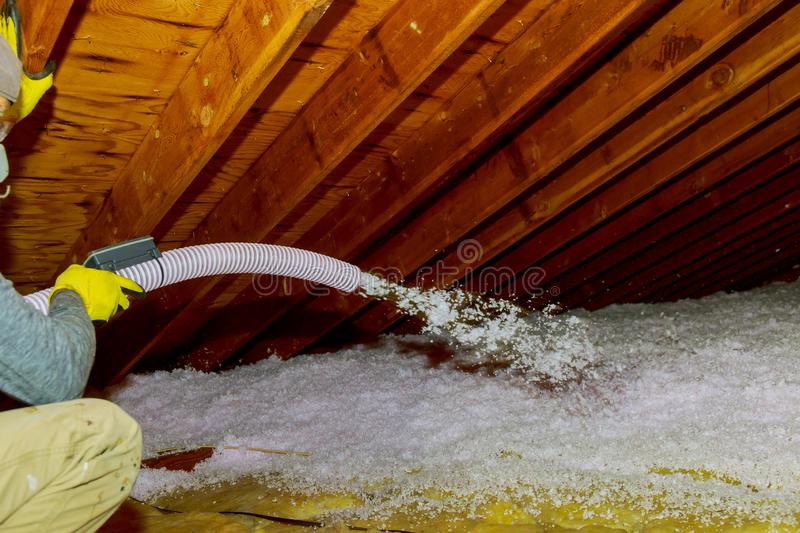
- Crawl Spaces
If you are looking to insulate attics or between floors when both of them are inhabited; then you might want to use unfaced insulation. This will add soundproofing.
What is the purpose of the paper?
Using paper in the insulation material provides an already built-in vapor barrier that will prevent water to sift into the wall or the structure of the house. While you might think you do not need the paper faced insulation because there are no water lines in the area you will be insulating; you will need to comply with state and federal regulations, so paper faced insulation might be a must in your area of residence.
When you are handling the faced insulation material, you will need to handle it with care, the paper, like in any other situation can become detached or ripped and that could cause serious problems in the long run. If at any point you need to trim it or cut it down to size, make sure you do so with the paper side facing you so it is the first thing you cut.
Doing this will ensure that the paper is cut and not torn. As I have mentioned, there are alternatives to the paper faced insulation products, but most of these alternatives require experience and over two hands in the proper installing process. In definite, these are not adequate for inexperienced insulation installers.
Now, it is a common mistake to believe that since the faced insulation products have a side with paper; it is needed to have more of them just like in the case of loose-fill insulation and foam insulation. This is not the case. The entire insulation product has been created with the idea that there is no need to add layers of insulation on top of each other for a perfect insulation. Doing so can cause the opposite effect.
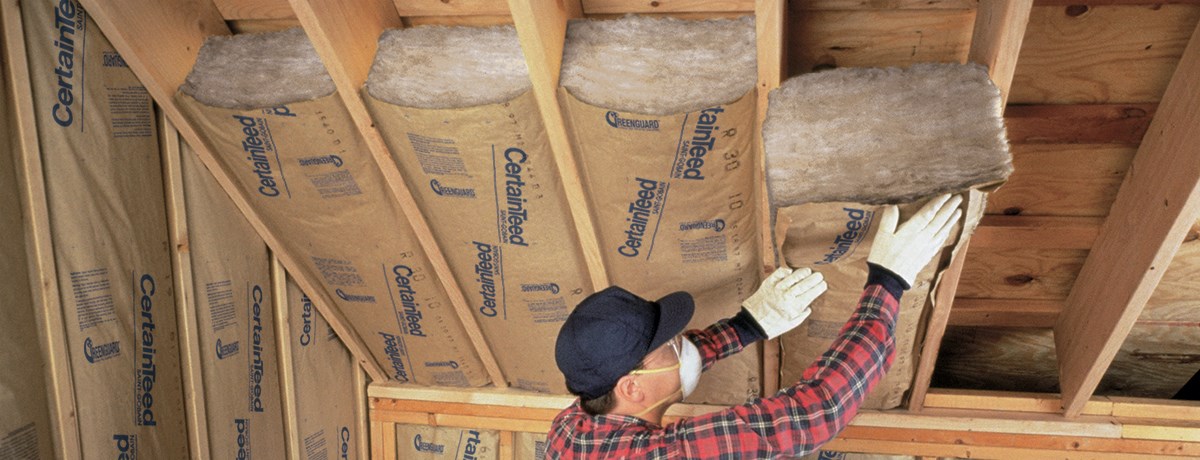
When you install paper faced insulation, it is important to remember to set it with the paper facing the wall. While there is no actual problem to install it the other way around, it will require drywall to cover the paper and prevent accidental fires.
Most insulation products are fire retardant. However, that does not mean that they are fireproofed. They will still combust and they will still burn down if they are exposed to fire for a lengthy period.
In some insulation presentations, the paper adheres to the insulation material with asphalt. This makes the paper impermeable to water vapor and creates a barrier that will keep the warmth of the home where you want it instead of migrating to the outward of the house and into the wall or other structures.
This is the reason you need not add a vapor barrier when you are using paper faced insulation.
Installing insulation has almost the same steps for all:
- Measure the roll or batt of insulation to the area that you are going to install it in. If it is too big, then trim it to size. Remember to set the paper faced insulation upwards. To ease the cutting it might be helpful to pin it down with a piece of plywood.
Cut carefully
- Once you have successfully cut it down to size, gently fit it into the cavity without using force. Otherwise you will damage it and reduce its efficiency.
- Fold out the paper flange along one side of the insulation. Position the flange flat against the side face of the wall stud (or floor joist or roof rafter) so the edge of the flange is flush with the interior edge of the stud, joist, or rafter. Staple the flange to the side of the framing member with staples spaced about 12 inches apart (or as directed by the manufacturer). Repeat to fasten the other side flange.
Be careful when insulating through plumbing pipes and electrical wiring. For these parts, most experts consider that the best approach is to leave them free- from insulation materials. The best approach is to take many pictures and approach a contractor or your local insulation supplier for advice.
If you are uncertain as to which type of insulation works best for you, your local contractor or insulation retailer will be able to provide you with help.